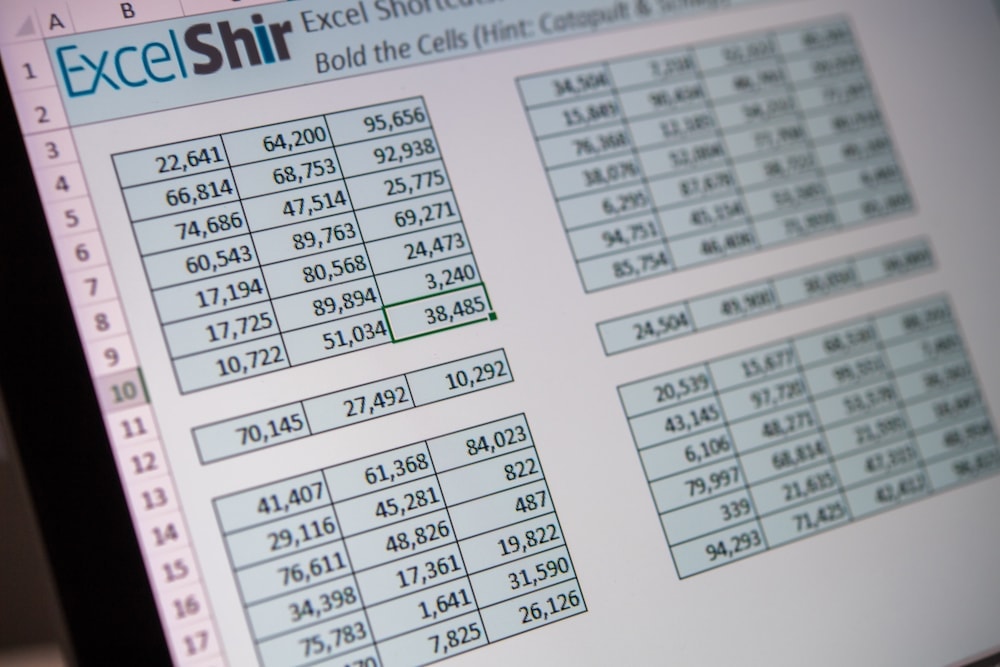
This is hands down my favorite Excel shortcut, because I use it more times per day than I breath. Ok, I’m exaggerating, but not by that much.
This is a GAME CHANGER for anyone who spends any kind of time with spreadsheets. Without it, I wouldn’t just be slower, I’d be in tears.
In this video, I will show you the fastest way to move around a spreadsheet. Buckle up!
Download FREE Hands-On Exercises
Full Video Transcript:
This is one of the most important shortcuts you will ever learn because without it, you’ll be wasting countless hours, days, even weeks of your life.
In this video, I’m going to teach you the fastest way to move around a spreadsheet.
The way this works is, there’s a couple pieces to it. So, let’s start with an empty sheet, right? If I want to move it to the different cells with the keyboard, I’ll hit the ARROWS. That part’s pretty straightforward.
If I want to select as I go, go, I’ll hit the SHIFT key and then the ARROWS. Now, notice if I go to the right, it expands that way. If I go down, it expands down and I get this little rectangle. Then I go left. Notice how it’s kind of keeping that initial point as the selection start, but it will expand based on how I’m moving with the arrows as well.
So, think of SHIFT as “schlepping.” You’re taking it with you. You’re taking the selection with you as you go, hence schlep. Also sounds a little similar with the first letters, so that’s the idea.
The other piece to this is, if you want to move around really quickly, you can actually use the CTRL + ARROWS. So, notice where I am right now. I’m right over here. If I hit CTRL + LEFT, I will jump or “catapult” to the edge of the data. If I go CTRL + RIGHT, I’m going to catapult to the other edge, right? It’ll go down, left, up, it’s all going on these corners because that’s where the data is.
How, exactly, it works with the edge of the data is not super critical. You’ll get a feel for it as you go through. But basically, anything that has data in it, if it’s text, if it’s a formula, if it’s numbers, it’s all good as long as it’s not empty.
So, CTRL + ARROWS will catapult you to the next edge of the data. The really, really, really amazing part is to combine both things together. So, I’ll start over here. I’ll hit CTRL + SHIFT and then DOWN. I’ll select, as I go, that whole area. And I can expand the selection by doing CTRL + SHIFT to the RIGHT, and notice I got this whole section. So, this is where the real power comes in. You can combine the catapulting and the schlepping together. The CTRL + SHIFT + ARROWS.
Some Shir words of wisdom. What makes this so powerful is that you can actually use this concept when you are writing a formula as well. If I were to do, let’s say, a sum, I can actually do CTRL + SHIFT + DOWN and it’s going to keep that reference for me here, in the selection of those cells, inside of the formula. We’ll get to that a little bit later, but it’s one of those things that applies everywhere. I’m just going to undo that.
I’ve created some exercises for you to practice how to do this. So, if you’re going to start with the empty sheet, you can practice it by using the CTRL and the ARROWS to jump around. If you want to go to this worksheet over here, again, the point is to bold all of the cells and, of course to use the “catapulting” and “schlepping” as you go. So, a lot of these are a little different, but go through them and use the “catapulting,” the “schlepping” and bolding as you go.
Don’t forget to visit excelshir.com, where you can download these exercises along with other free resources, such as keyboard shortcut cheat sheets for both PC and Mac.
Thanks for watching. See you next time. And one quick story. I was watching a documentary the other day, and it turns out The Beatles broke up because they weren’t sharing the Excel love. Teachable moment.

